
AUTUMN HOUSE IN THE WOODS
I love this project so much! It is just so warm and bright!
We used..
- Construction paper (warm colors like red and orange)
- Red, yellow, and brown paint
- White and black paint
- Paintbrush
- Brown paper (we used a scrapbook wood grain paper that I already had)
- Two other scrap papers for the house
- Washi tape
- Cardboard scrap
- Kitchen scrub brush
- Coffee filter
- Markers
- Water
- Chalk pastels
- Scissors
…that looks like a lot of supplies, but it really isn’t too bad!
HERE WE GO!
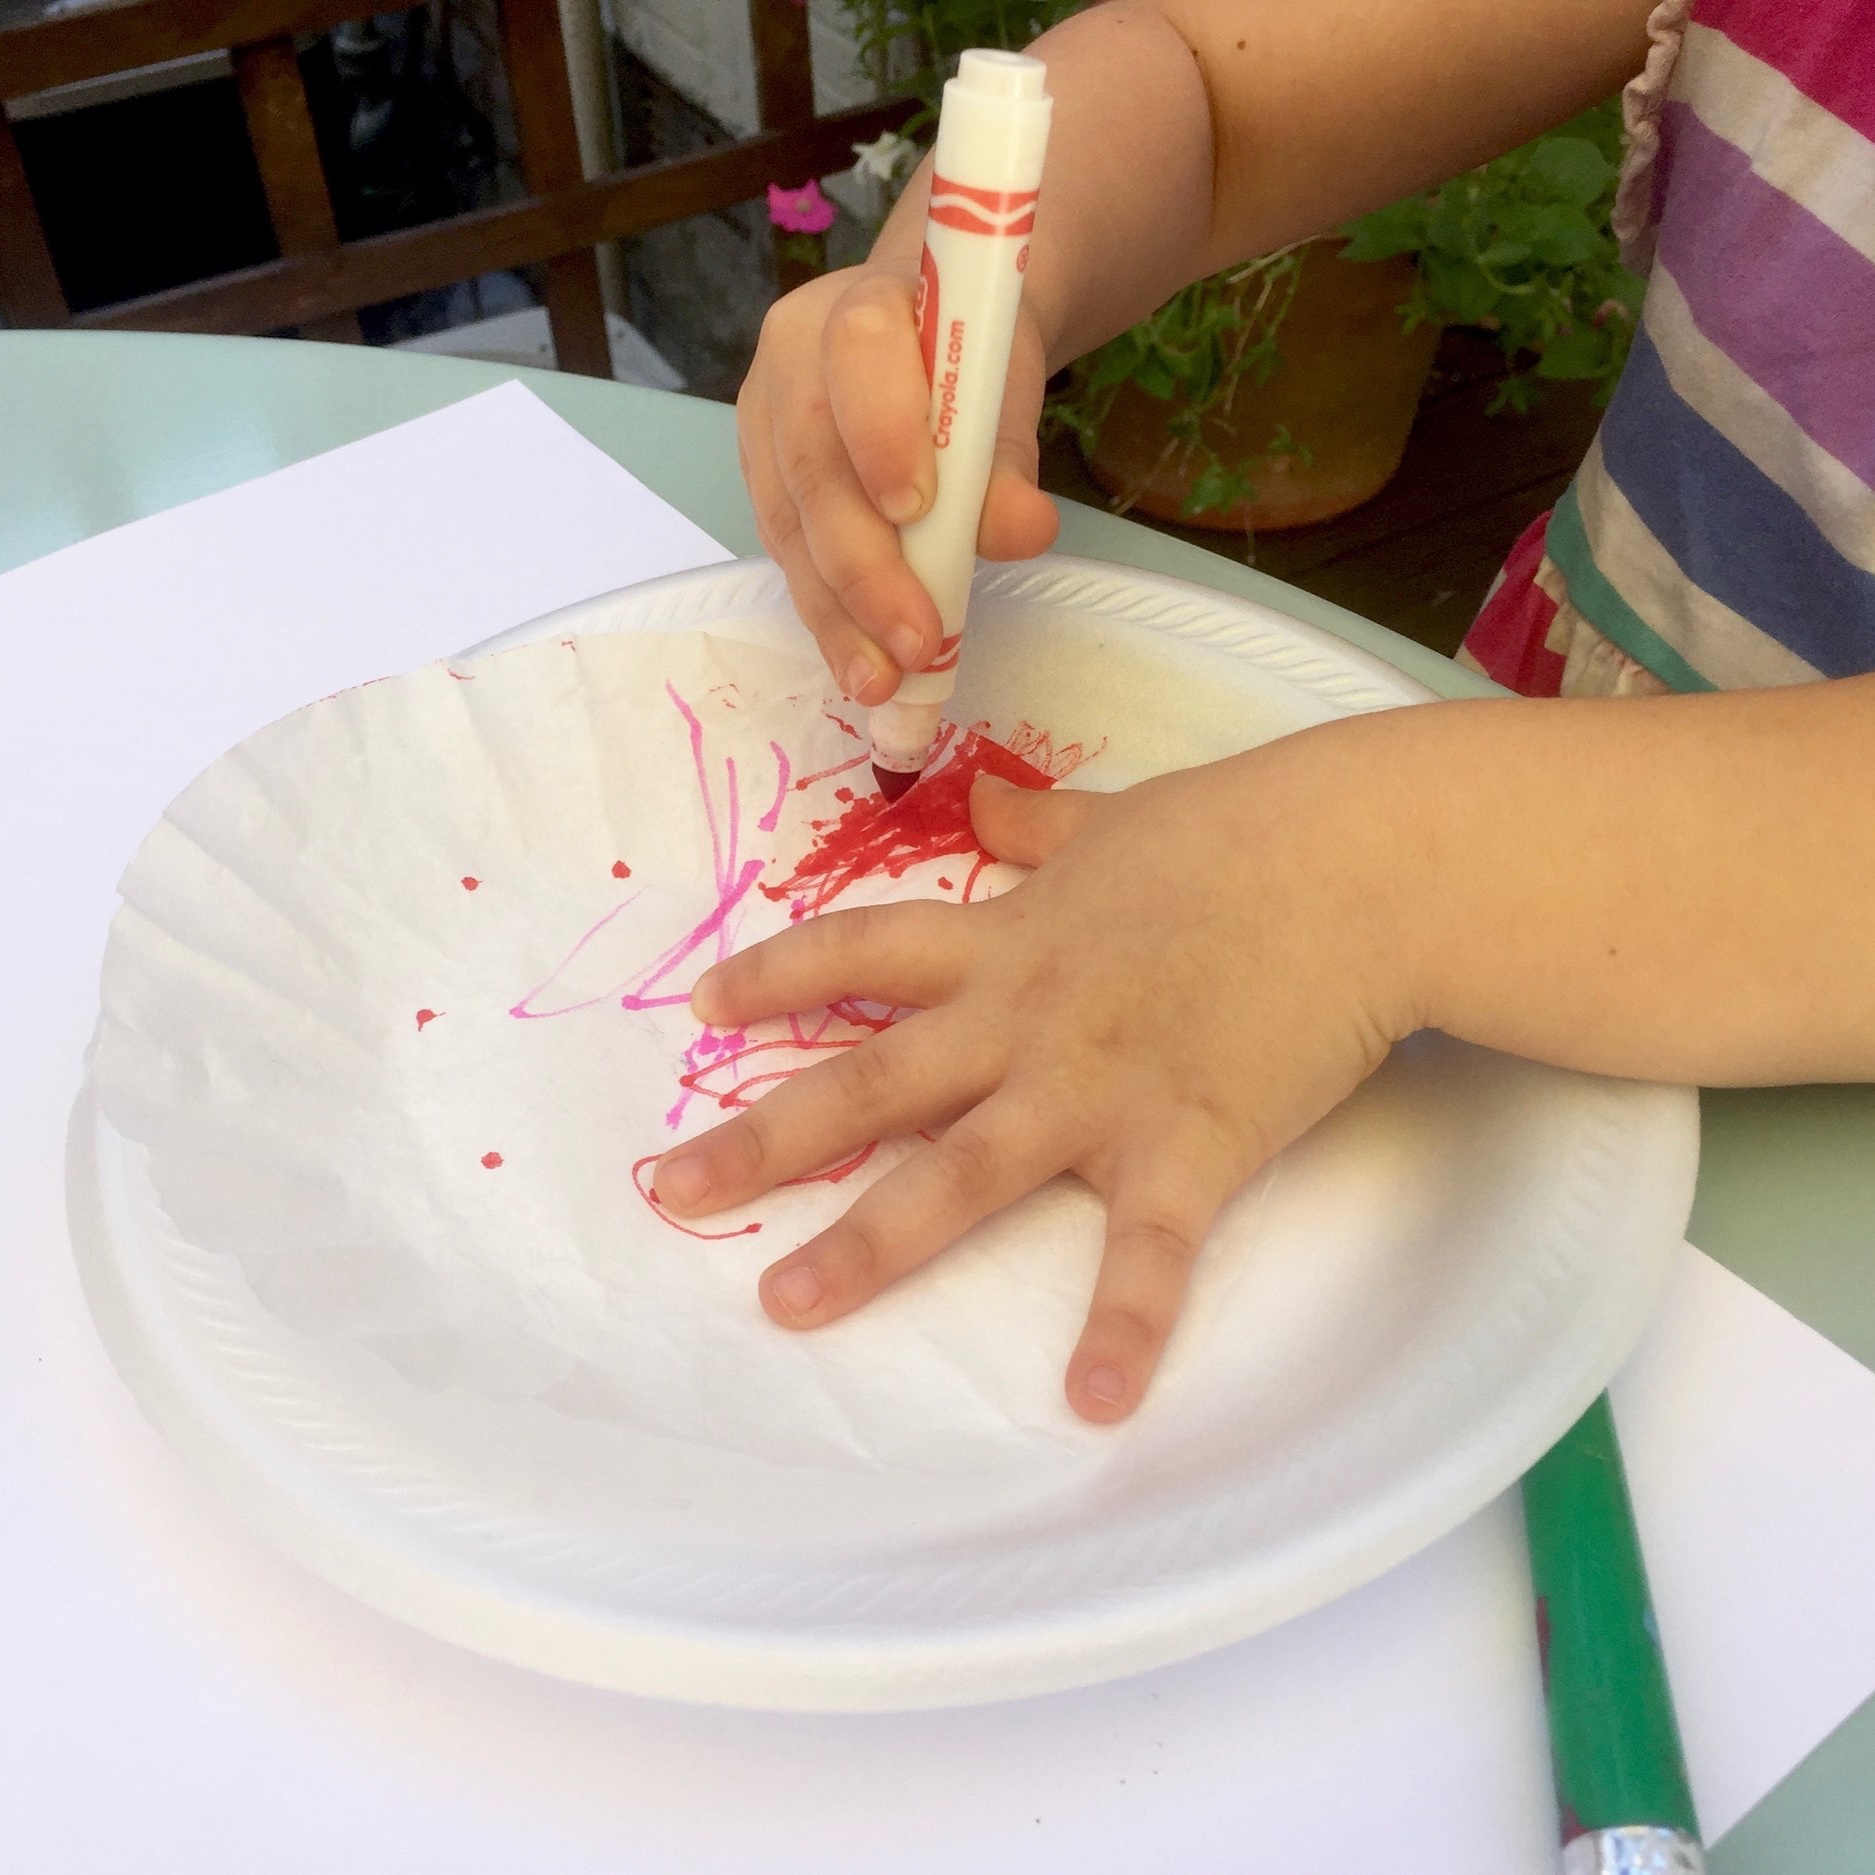
For the first step, you’ll need a coffee filter, warm color markers like pink and red,
water, and I usually have a plate or cookie sheet to set the coffee filter on.
Make sure the markers are kids markers, like Crayola or an off-brand.
They have to be able to bleed when wet.
First, draw with your markers all over the coffee filter, then paint the coffee filter with water.
This create a beautiful tie-dye design!
Put to the side (in the sun is best) to dry. This paper will serve as our autumn leave a little later in the project.


Next, take your background paper (we just used white 12”x18” construction paper) and chalk pastels.
Use your chalk pastels to create a beautiful background design!
Side note - If you have a chid that loves to get messy, they can just use their hands to blend the chalk, but if you have a child that doesn’t like the feeling or might have sensory issues, you can always use a tissue or paper towel to blend instead!


For this next step, if you have a little one, you can put four dots to “connect the dots”, like I did below for Emma.
First, mix the black and white paint together to make grey! Or, if you already have grey paint, that works too.
Draw the driveway and paint the inside!


Next, we used yellow, red, and brown paint with a sponge brush to add more texture to the background.
This is totally optional and would be a good step to skip if your child is getting a bit distracted.
If you do this step, don’t clean off the plate with paint, you will use it again in a few minutes!

Get out that scrap paper! It’s time to make a house!
Have your child draw a square on the back of one paper and a triangle for the roof on the back of the other.
Cut both of your shapes out and glue at the top of the driveway.
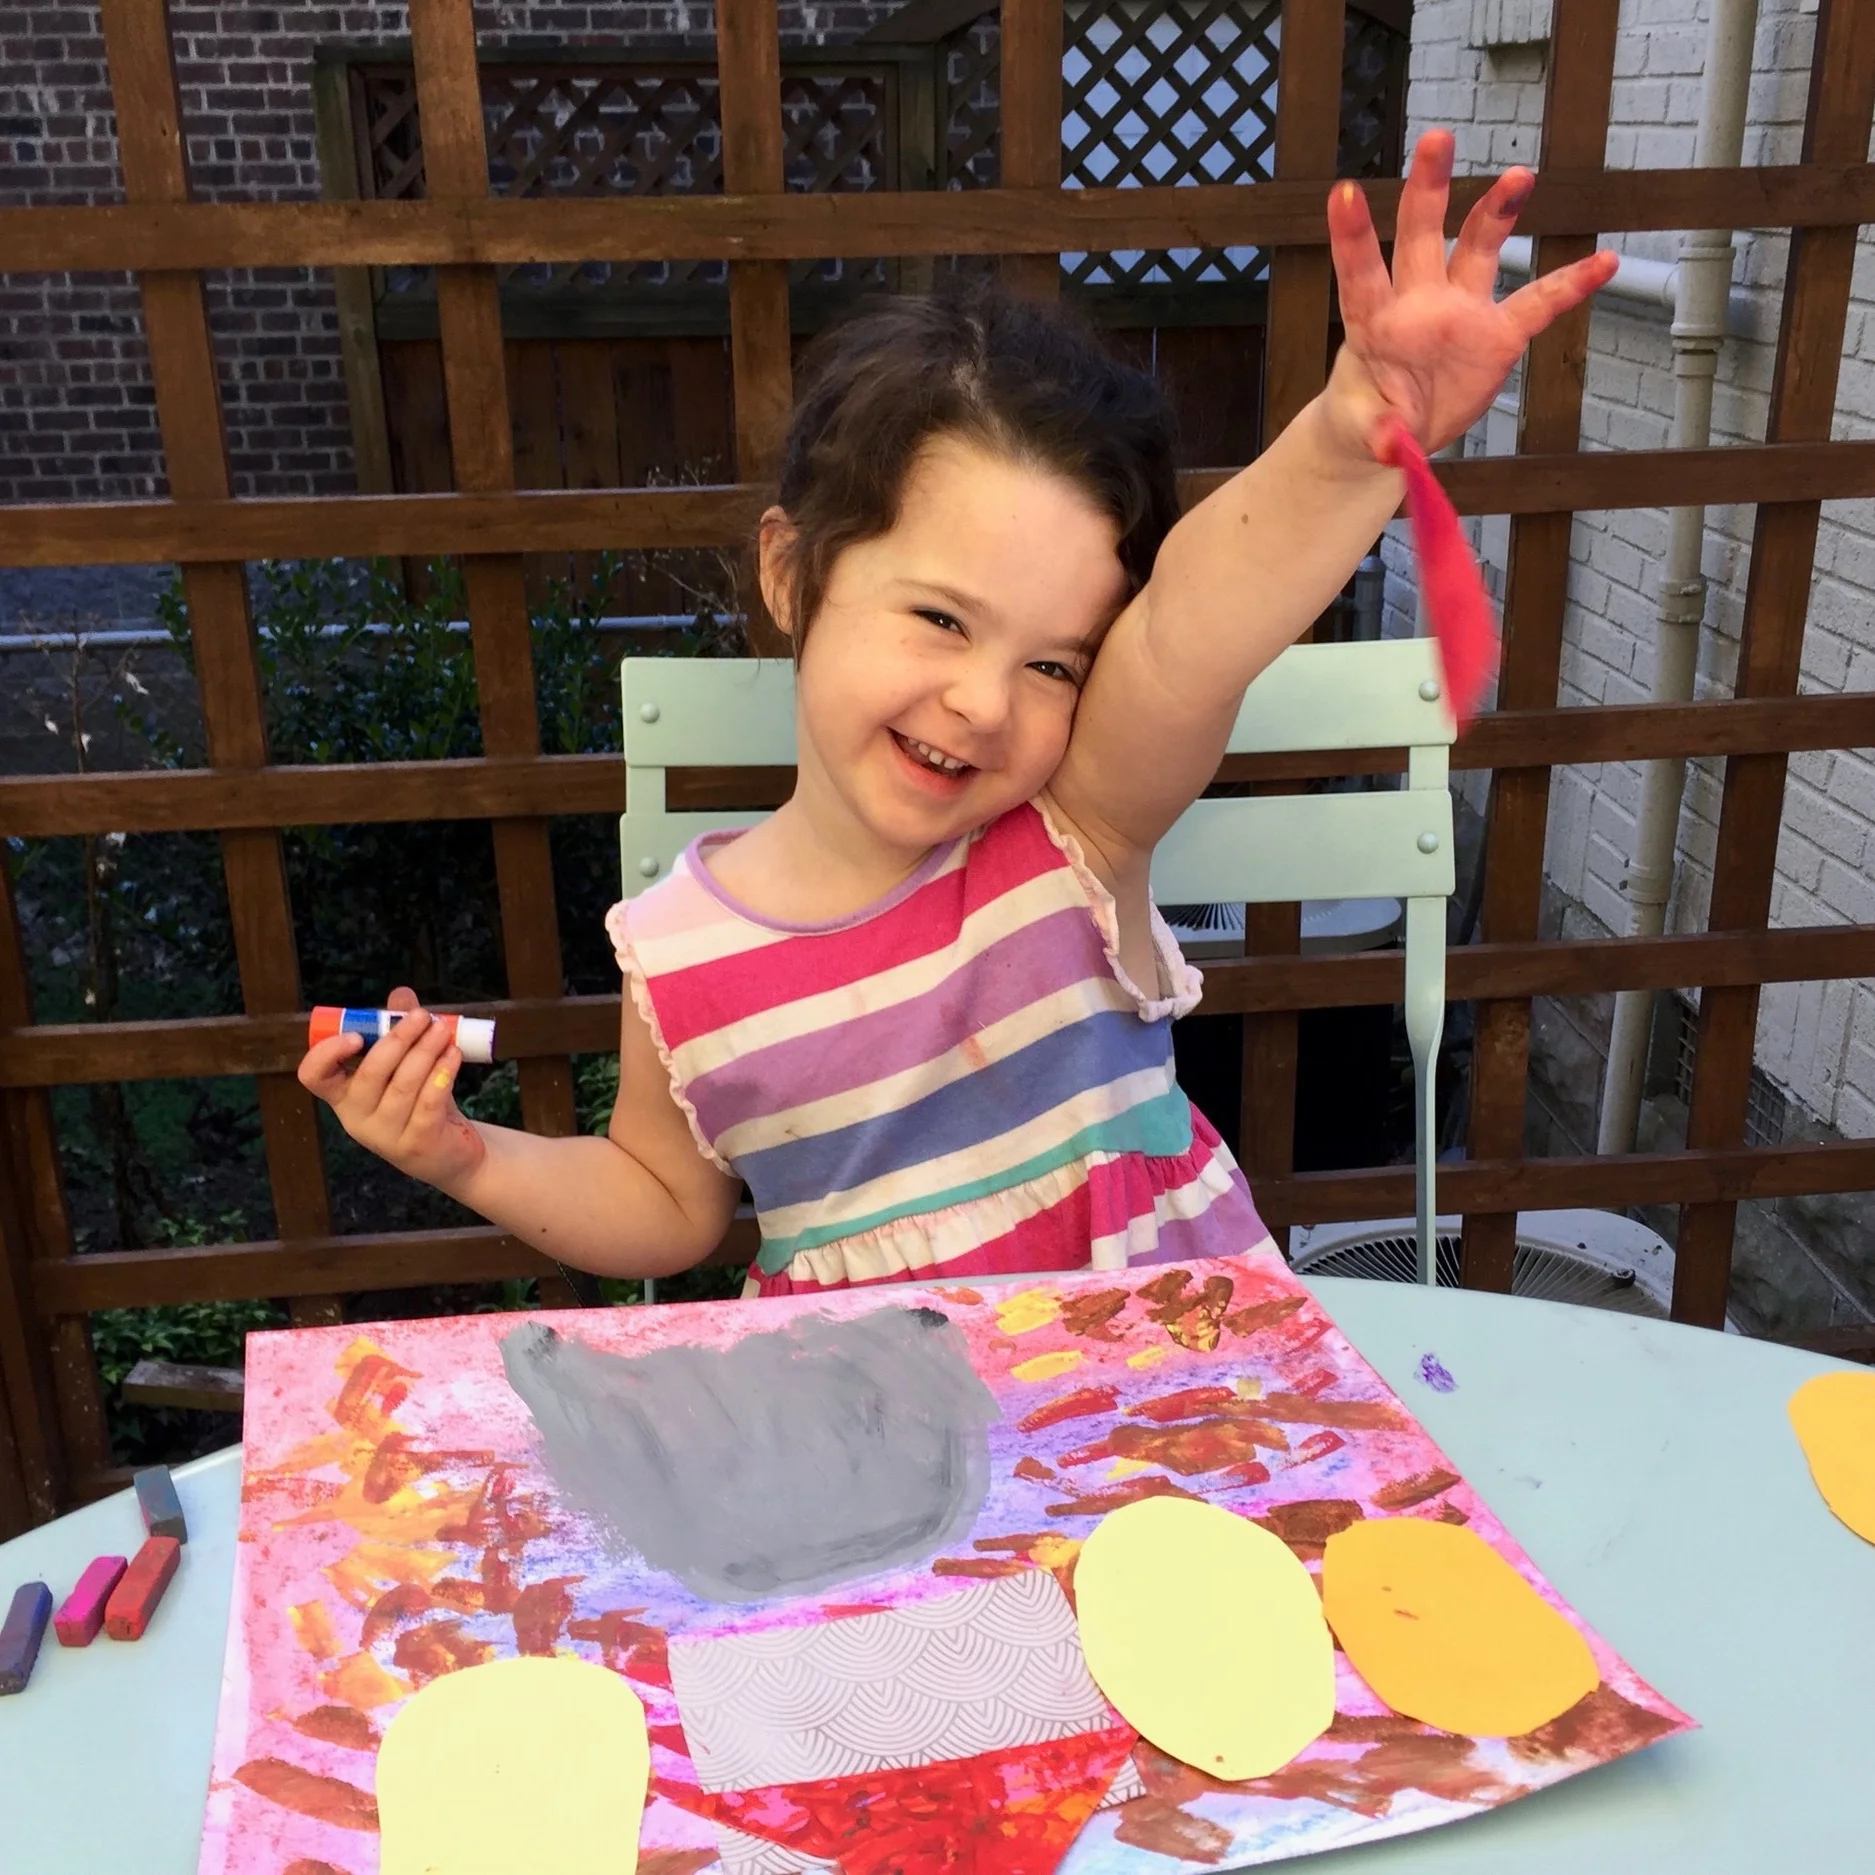
Don’t you love kids’ focus faces when they are cutting!? Too cute.


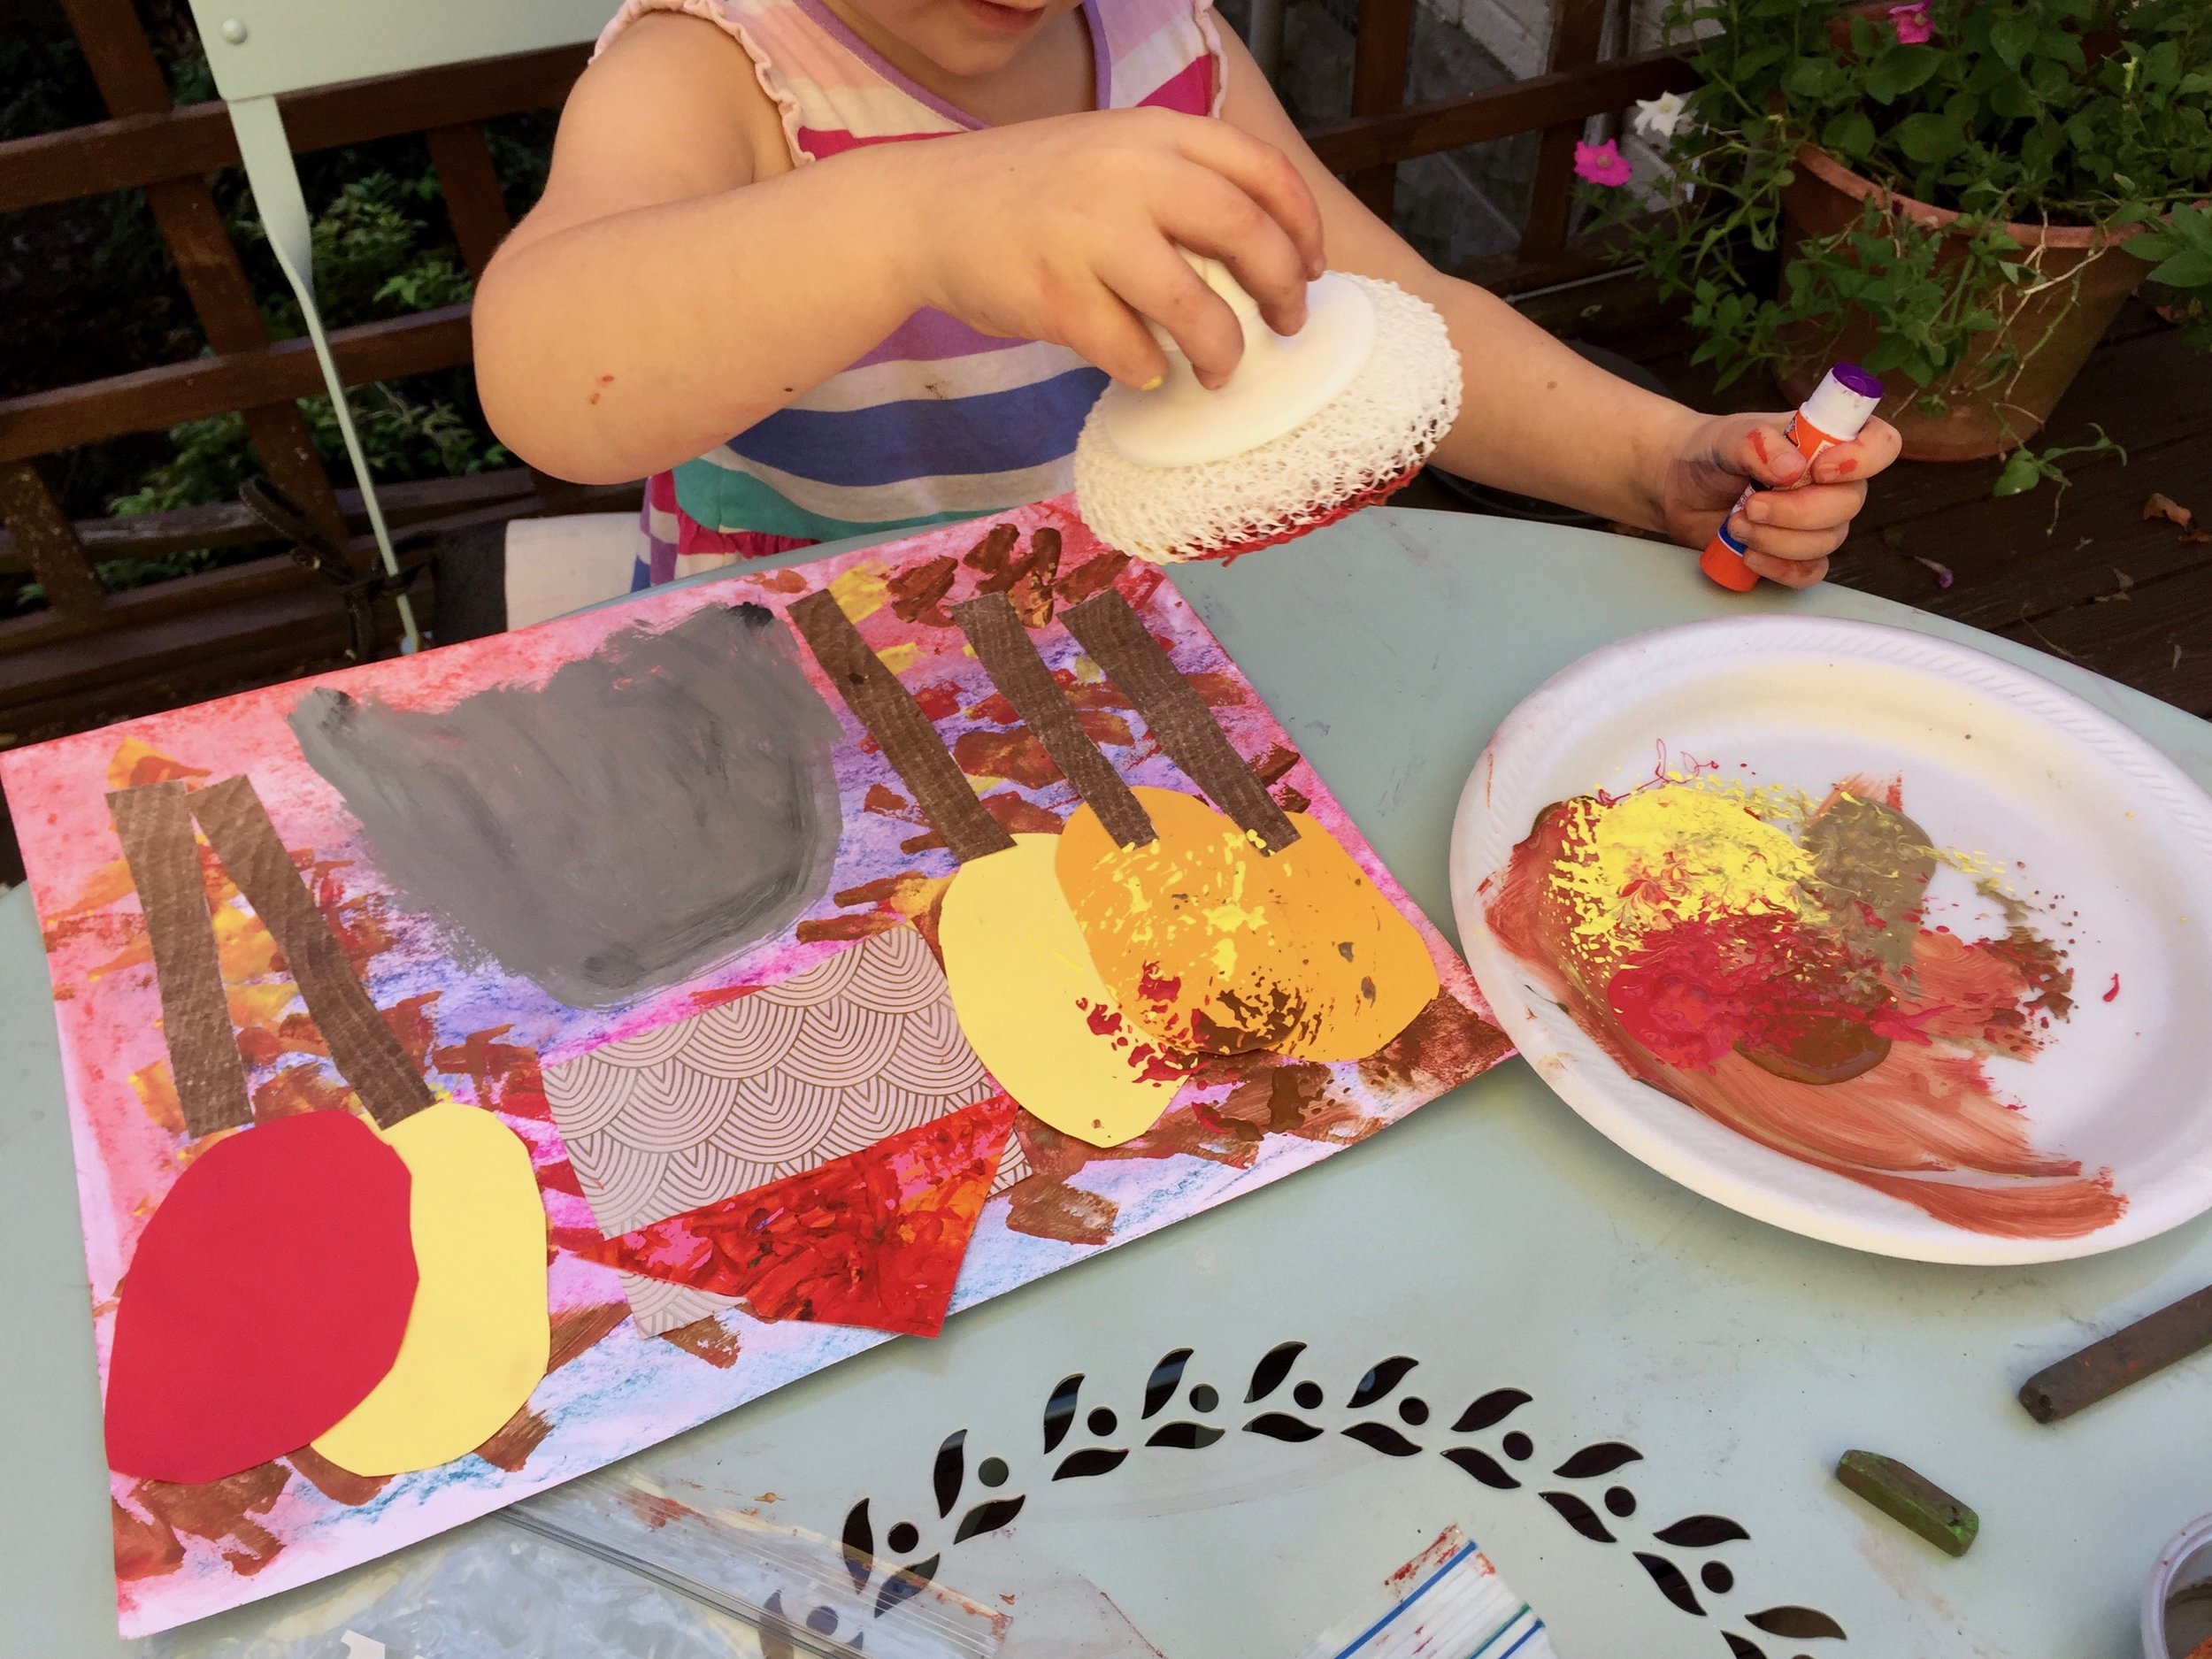
Next, use some construction paper or scraps to draw and cut ovals for the tops of your trees.
Make strips from your brown paper for the tree trunks.


Get that paint plate back out! Use the brown, red, and yellow paint to create leaf texture on your trees using your kitchen sponge tool.

Next, get the cardboard strip and some black paint.
Use the side of the cardboard strip to add stamping texture among the tree trunks.

Yay! It’s time to decorate your house!
We used washi tape to make our door, but you are, of course, welcome to use anything or any scrap lying around your home.
We used oil pastels to add windows, but you could also use the markers from the beginning of the project.


The very last step is to take that coffee filter that made you made at the beginning of this project, and rip it up into small pieces.
Crumble up your pieces and glue them to your tree.


